Introduction

Time Taken: roughly 24 hrs (December 17th 2021 – July 30th 2022)
Program used: FireAlpaca
This is the first piece that I’ve made with the intention of using it as a profile picture. It is a picture of my internet persona/mascot – whose design is still a work-in-progress. All you need to know is that they’re a girl with bat ears and wings.
Process
First Sketch

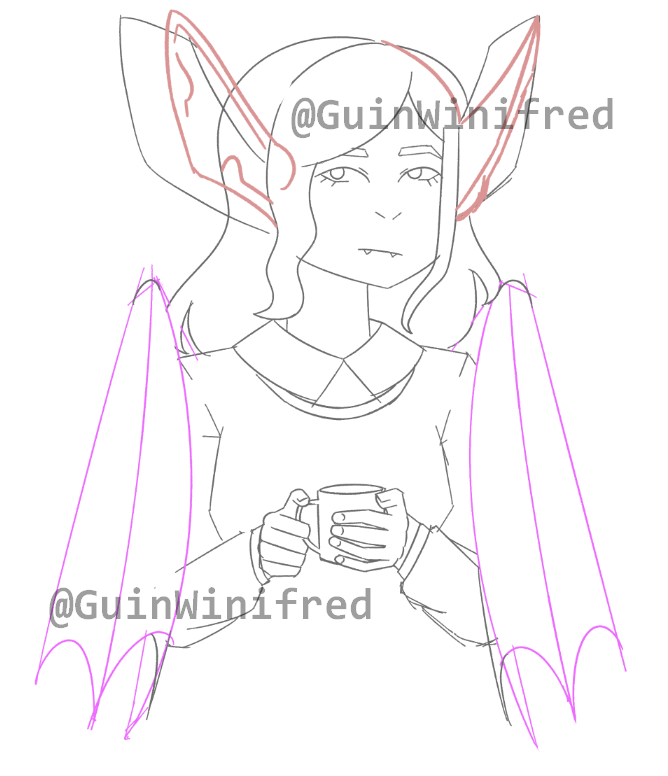
I cleaned up the sketch and adjusted the position of the ears and wings. At this point, I started to dislike the drawing as I wasn’t satisfied with the hands and overall pose. At the time, I thought they looked odd and stiff. Eventually, I scrapped this sketch and did the second sketch.
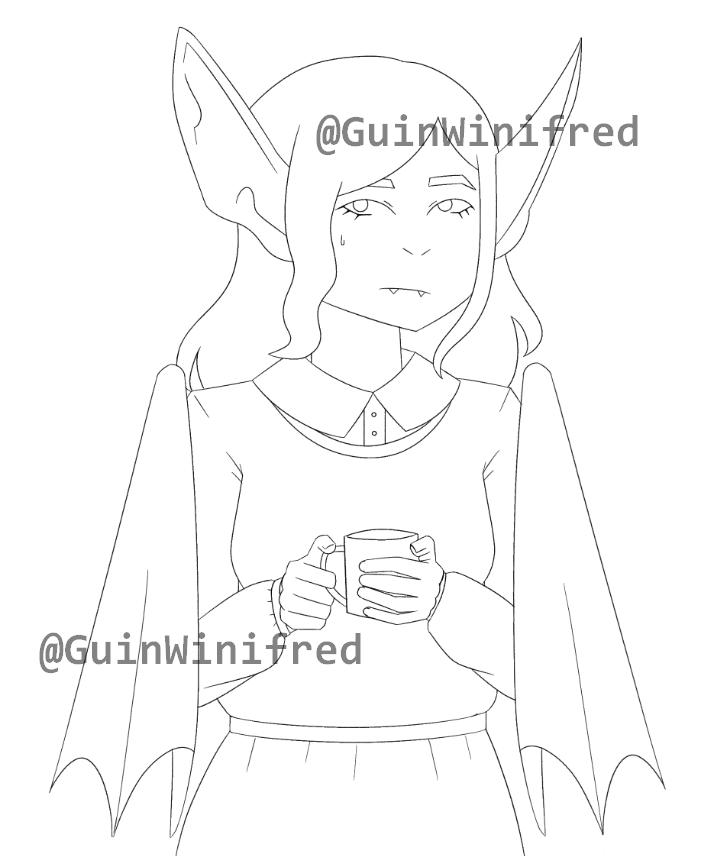
Second Sketch

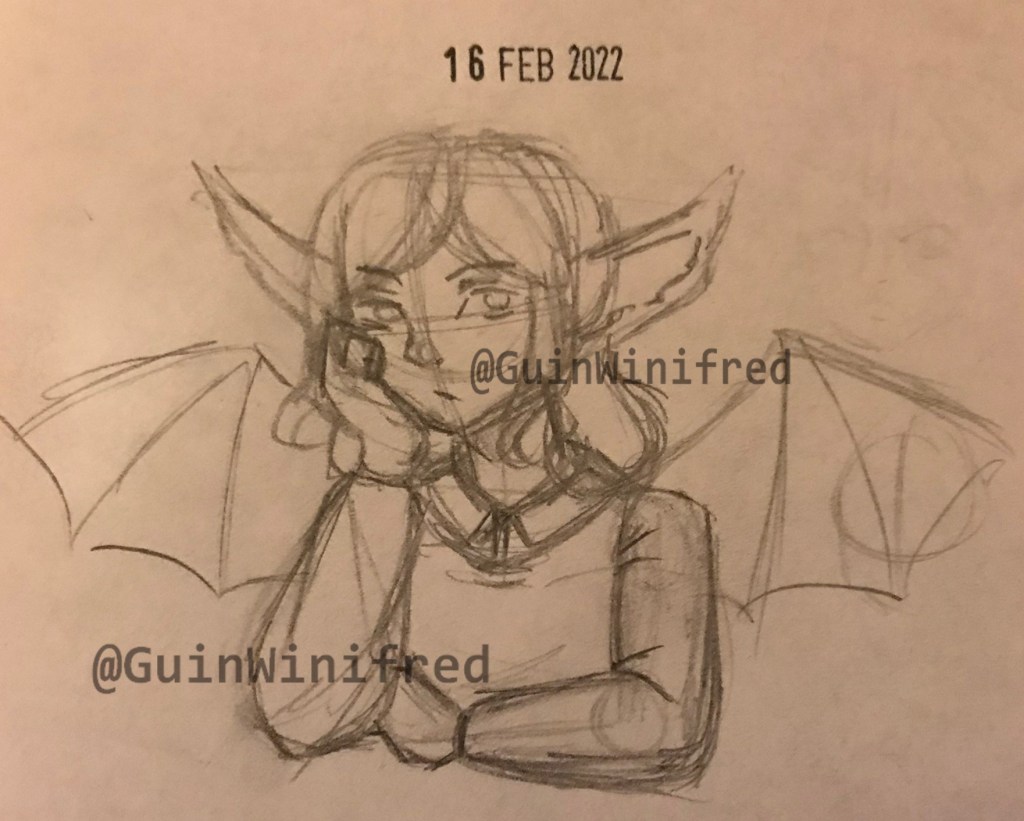
Sketch 3
Lineart
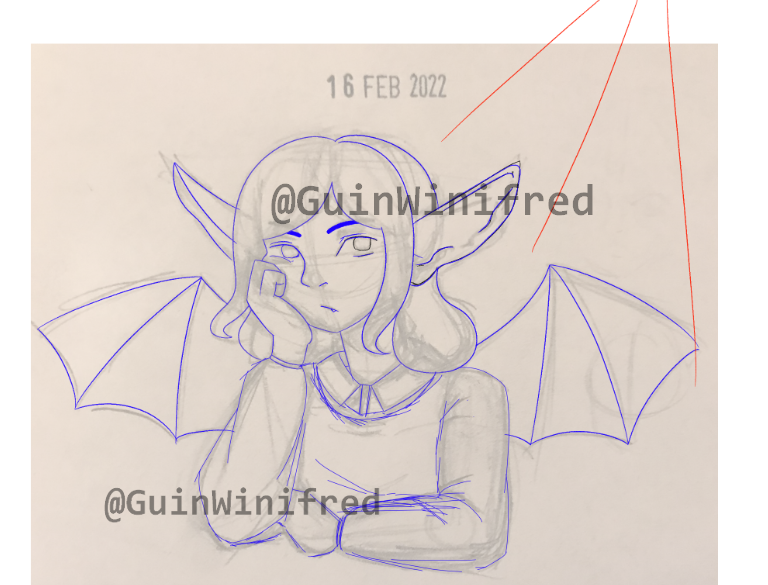
I did a cleaner sketch on top of the photo in FireAlpaca and marked out the lightsource. This looked most promising out of all the sketches I did at this point. I did the sketch in blue in order to make it easier to distinguish it from the photo – I later changed the lineart to black.
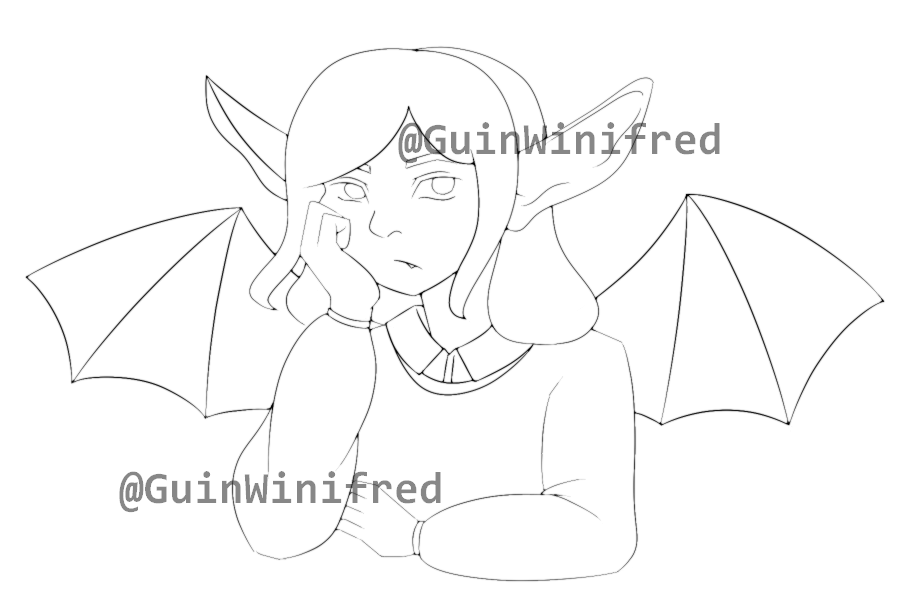
Once I finalised my lineart, I duplicated the lineart layer and added a gaussian blur to soften the lineart.
Colouring

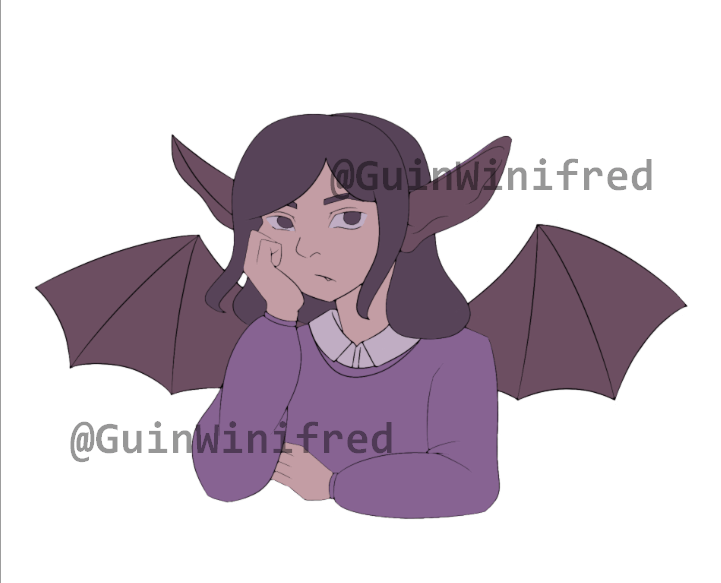


I wanted to use purple in my artwork so I based my colour pallette around purple. The only problem was finding a good colour for the jumper. At first, I tried darkening the colour but that made too similar to the wings and they ever so slightly clashed. Next, I tried lightening the colour and I liked it! Now that the colouring stage is done and I can now render the artwork. I also added a contrasting mint colour as the background to make it more interesting.
Shading and Finishing Touches

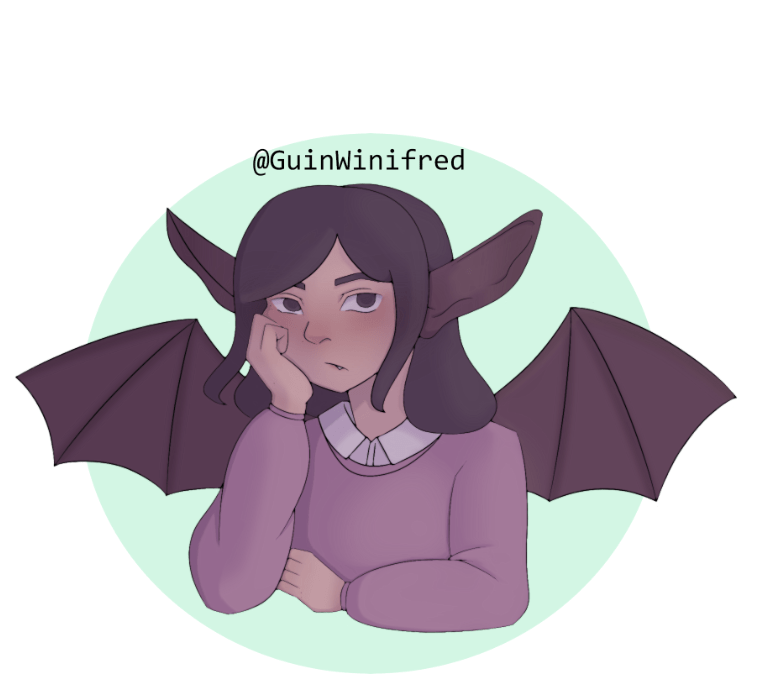

First, I airbrushed a reddish colour onto the face and hands to add blush. I also added a darker colour to the fingers of the wings to make it feel less flat. Using purple on a multiply layer, I added blocks of shadows where they would be according to the lightsource. With another multiply layer, I airbrushed more shadows (especially on the jumper) in order to make softer shadows . I added bright white highlights to the eyes and fang. In order to make the lineart softer I changed the colour from a black to a purple but I kept the lineart black in places that would be in the shadows.
Overall, I think this piece looks great. I think next time I would alter the right wing as it doesn’t seem to match the angle of the body and give the hair & jumper more texture – everything was shaded in the same way so the hair looks somewhat like a blob. Also I might try to use the airbrush to soften the shadows next time as the blur/blend tools I was using were a bit tedious to use.
Thank you for reading my first blog post, I’ll be sure to post future blog posts (don’t expect regular uploads though – I take a while to make art).
